Fastest way to diagnose an air conditioning system!
We are going to walk you through a very simple process that will help you identify what’s wrong with an air conditioner in the shortest amount of time possible.
(Identify which unit isn’t working)
After introducing yourself in a kind and professional manner, find out which unit is currently not working.
(Check to see if fan comes on)
Once you have decided if it’s upstairs, downstairs, etc. put some booties on and go to the thermostat and turn the thermostat to the fan on position with the setting in cool mode and turn the desired temperature down 2° below the actual temperature. There is typically a five minute delay, but during fan mode, the indoor fan should come on right away. If the indoor fan kicks on, then you know the indoor fan motor is getting high voltage power, and that the thermostat is communicating low-voltage with the unit. If the fan doesn’t kick on, then you either have a high voltage problem going to the unit or a power problem somewhere between where the power that comes into the unit and where it connects to the fan.
(If the indoor fan is working…)
If the indoor fan came on right away, change the setting to the automatic cooling mode which should take a maximum of five minutes for the entire system to kick on. While you’re waiting go ahead and check the air filter, inspect inside the return air to make sure everything is sealed properly. Go around and make sure all of the floor or ceiling vents are open and that air is coming through each vent to make sure none of the vents have become disconnected.
(Check vents to see if cold air is coming in and hot air is being removed)
Check the temperature difference between the return air grill and the supply vent closest to the AC system. An ideal temperature difference or (delta T) is anywhere close to a 17 to 20° temperature difference between the supply vent and the return air grill. When possible, it’s always best to check the temperature (delta t) at the very beginning of the supply trunk line, and at the very beginning of the return right where the beginning of the ductwork connects to the unit.
(identify if we have an electrical problem, a refrigeration problem, or an airflow problem)
One of the first things we are trying to determine is if we have an electrical problem, a refrigeration problem or an airflow problem. Turning the thermostat to “fan on” helps us to rule out the possibility that there’s not any high voltage going to the transformer, which is what sends power to the thermostat and the indoor fan.
(How do I know if it’s an electrical problem?)
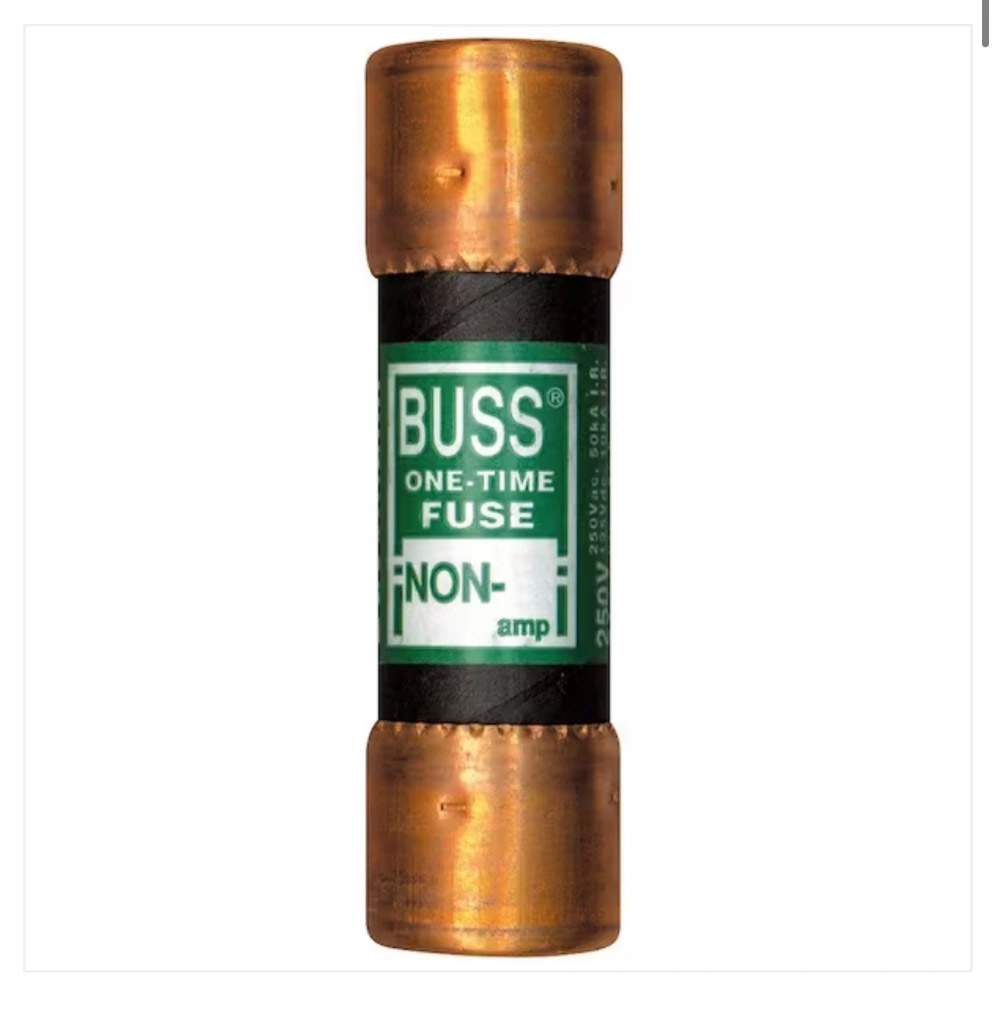
If the fan doesn’t turn on, then most likely you have a high voltage problem, a low-voltage problem, a weak blower capacitor, or a bad blower motor. The first thing to test in that situation would be the breaker or disconnect that feeds either the package unit or the indoor air handler. If you have a split system, then you’ll want to start by checking the power to the indoor unit. If you have one large square or rectangle system that is mounted outside against the side of the house, where the ductwork runs through the crawlspace or basement and up through the floor, then you will want to check the breaker that turns on the outdoor unit. Some houses have fusible disconnects. You will want to take these fuses out and run a continuity test on each end of the fuse to make sure none of them are bad.
If the fuses are bad, replace them. If they read continuity, put them back and continue testing further into the unit. Check where the main power goes into the transformer first to make sure you have 240V. Also check the power coming out of the transformer to make sure you have 24V. In some cases, you will have a small 3-5 amp fuse (similar to a car fuse) that’s located on a board that maybe bad. These fuses are typically located on a furnace control board or a fan relay board inside the service access panel. If you do not have 24V coming out of your transformer, then you will need to replace the transformer as this is what sends power to the thermostat and all the other components.
(If you have 24V coming out of the transformer and your fan still isn’t coming on, check these 3 things first.)
- Make sure you have 24 V between G (most cases the green wire) and C common (most cases, the blue or black wire). If you have 24V, then your problem is probably not with the communication wire or the thermostat. You can also take the wire that’s connected to the R terminal (usually red) on the back of the thermostat and disconnect it. Do the same thing for the G wire (usually green) and connect R and G together making sure not to let either wires touch the C terminal. When R and G make contact, it bypasses the thermostat, sending a direct signal for the indoor fan to come on. If the fan comes on when touching R to G, then more than likely you have a bad thermostat. If the fan does not come on but you are reading 24V between R and C, then most likely the wire going to G is bad, or you have a power problem somewhere between the thermostat and the indoor fan such as a bad fan relay or a loose connection at a wiring harness. If you have an extra wire that’s not being used that is going to your thermostat such as a black or blue wire, take the original wire off that goes to G at the thermostat and replace it with the extra wire and connect that wire to G. Do the same thing where the thermostat wire connects to the unit, swapping the old G wire with the new color wire that you used to connect to the G terminal on the thermostat. Now turn the power back on with the thermostat set to “fan on” to see if the new wire is sending a signal to the fan to come on.
- With the power off, remove the wires going to the capacitor and test it to make sure it is within tolerance. If it’s a five MFD capacitor and the tolerance of that capacitor is +5% or -5%, then make sure your capacitor is reading at least 4.7MFD or better.
- Smell of the blower motor to see if it smells like a burned motor. Also, take your hand and spin the blower wheel. If it spins freely and there is no burning smell, then that’s a good sign. However, if it smells really bad, or you can barely move the wheel, more than likely you have a bad indoor blower motor. Sometimes those blower wheels come loose from the set screw and get wedged between the wheel and the outer sheet metal housing. You can always loosen the set screw and realign the blower wheel to make sure it is not obstructed from spinning.
If after 5 minutes of continuous runtime, you still don’t have cold air coming through the vents, turn the thermostat down to 65 temporarily and ask the customer to please leave it there until you are finished testing the system. This will ensure that the system does not turn off while you’re working on it. Now it’s time for us to finish testing the outdoor unit.
(Compressor is coming on, but the outdoor condenser fan is not)
If the outdoor compressor is coming on, then you are most likely getting a 24v signal from the thermostat through the Y terminal for the outdoor unit to come on. You can look at the thermostat to see what color goes to C and what color goes to Y and then test them with your meter to make sure they are getting 24V. Don’t touch them together. Just use one of your meter probes to touch the incoming Y (normally a yellow wire), and the other probe to touch the other C wire (normally black or blue). If you have 24 V, then there is another issue. Remember, the Y wire always sends a signal to the compressor and the outdoor fan to kick on so if one of those components is on, then more than likely you are getting a signal from the thermostat. You can always press the center of the test button on the contactor (if one is available) to see if the condenser fan will come on. If it comes on then more than likely, you have a low voltage issue somewhere. If it doesn’t come on, you need to first check the fan side of the dual capacitor to make sure it is within intolerance. If it’s not go ahead and replace it. If the capacitor is good, check the voltage coming out the top of the contactor to make sure you are getting proper voltage to the motor. Sometimes, if you have a bad blower motor, you can smell the burnt windings when you put your nose right up to the side of the motor. You may also notice some resistance when spinning the fan blade, which is another sign of a bad blower motor. Sometimes sticks and debris can fall into the fan blade and lock it up which prevents it from spinning. In some cases, you can get lucky and pull the debris out and the motor will continue working. In other cases, the motor will burn out and you’ll have to replace it. If you have a good capacitor with the correct power going to the condenser motor and nothing obstructing the fan blade, then more than likely you have a bad blower motor.
(Outdoor Fan is working but compressor isn’t)
If when you approach the unit you realize that the compressor is not working, but the fan is, there is a good chance that the capacitor is too low. It’s also a good possibility that you are having a power problem somewhere between the contactor and the compressor. to double check, you can always put your hand on the large copper line that’s connecting to the unit to make sure it isn’t pumping refrigerant. If it’s not cold, then the compressor is definitely not running. After checking the capacitor MFD, check to make sure the contactor is being pulled in. You can verify this by either pushing in the center test button or using your meter to test to make sure you have 24v on both sides of the contactor. If you press the test button and the compressor still does not come on, then you know you have either a high voltage wiring problem or an issue with the compressor. Usually if the fan is working, then the contactor is being pulled in, which automatically sends 240V to the compressor.
Turn the power off to the unit and make sure the cap or plug that connects power to the compressor is in good condition. Also lightly touch the compressor to see if it’s extremely hot. If the compressor is hot to the touch then it is most likely in protective overload meaning it got too hot and it shut itself off to prevent it from overheating. Thermal overload can also be tested with your meter doing an ohms tests. Set your meter to “ohms” and connect one probe to L1 and the other two T1 at your contactor. If your digital display reads(OL) then it is in thermal overload. Check the capacitor to make sure the outdoor fan is within the proper mfd tolerance. If you have a dual capacitor, the fan MFD will be the lower number (ex: 35/5 35 mfd would be the side of the capacitor that feeds the compressor and the 5 mfd would be the other side of the dual capacitor that feeds the fan. in some cases, there are two capacitors, and the smaller number of the two is going to be the one that feeds the fan. A weak capacitor will cause the outdoor fan to shut off from time to time which is the primary cause for compressor overheating. Other common reasons why compressors overheat is an extremely dirty coil, a clogged filter, poor high voltage, connection, low or restricted refrigerant, or a clogged or restricted return air.
If the compressor is hot to the touch, turn the power off and grab an outdoor garden hose. Run some water directly on top of the compressor and cool that sucker off. It may take 5 to 20 minutes to reset it if it’s in thermal overload. at this point you also need to try and determine what has been causing the compressor to go into thermal overload. If the filters dirty replace the filter. This is also a common place for 3 inch media filters that often times get overlooked. If the evaporator coil or condenser coil is dirty, go ahead and clean it! If wires were loose at the compressor terminals or the plug-in, reconnect them properly. If the capacitors are low, go ahead and change them.
After the repairs are made and you have cooled off the compressor, turn the breaker back on and then push in the center “test” button of the contactor to see if the compressor comes on. If it does, then just release the button and wait for the time delay. While you are waiting, go ahead and clamp your amp clamp to L1 or T1 of the compressor wire so you can be prepared to make sure the compressor amperage is within manufactures tolerance as soon as the system kicks on. Go ahead and connect your gauges to the vapor and liquid side of your unit also and hook up your temperature clamps so you can test your subcool and superheat.
(If the compressor and the fan come back on)
When the system kicks on, check all of your compressor wires to make sure they are all within tolerance. Listen to your compressor and make sure it isn’t making any unusual noises. Check the air coming out of the condenser fan to make sure it is blowing into the atmosphere away from the unit and not back on into the system and on top of the compressor. Check the area around the unit to make sure nothing is obstructing the systems ability to breathe such as other units, exterior walls, bushes, or anything being right up against the condenser coils that could be restricting the air coming into the sides of the unit or preventing it from coming out the top or side of the unit. Sometimes people can install a new motor backwards, and in some rare cases the system will reverse direction on its own.
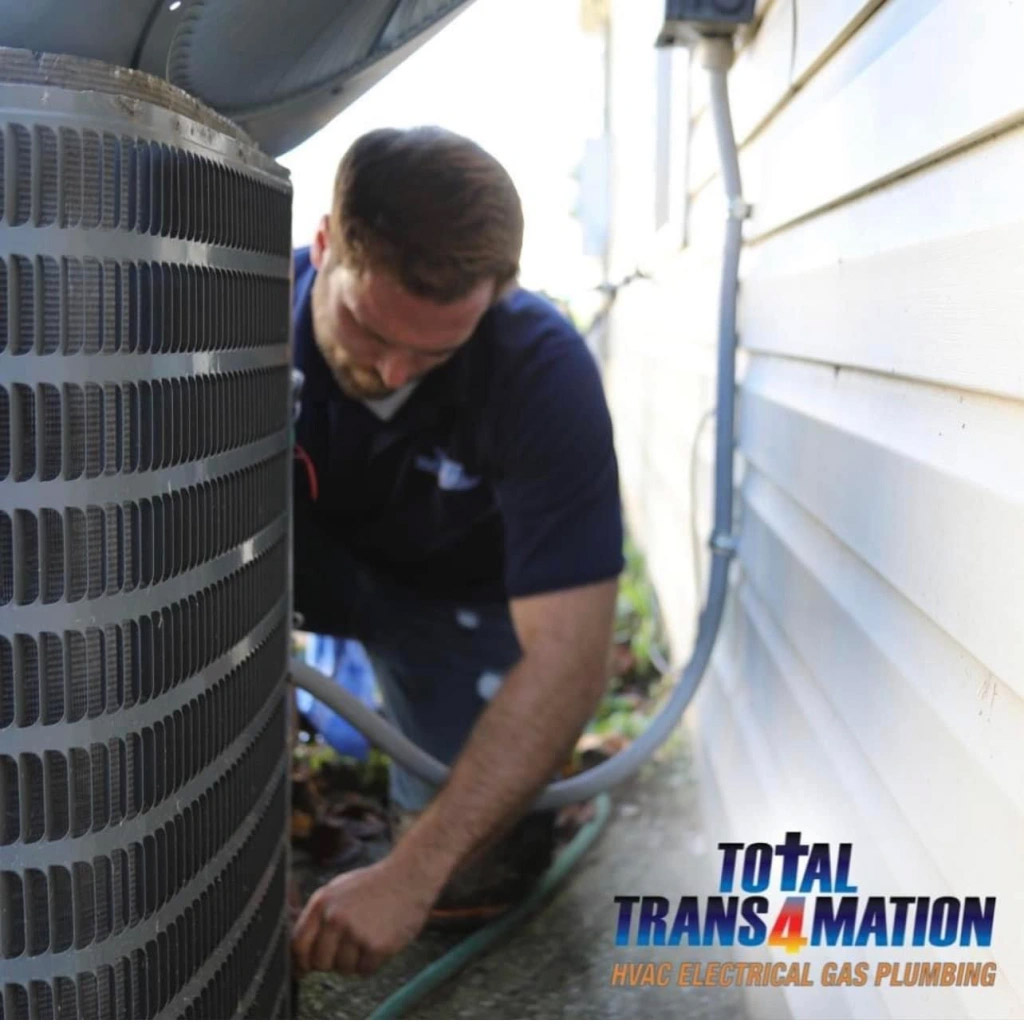
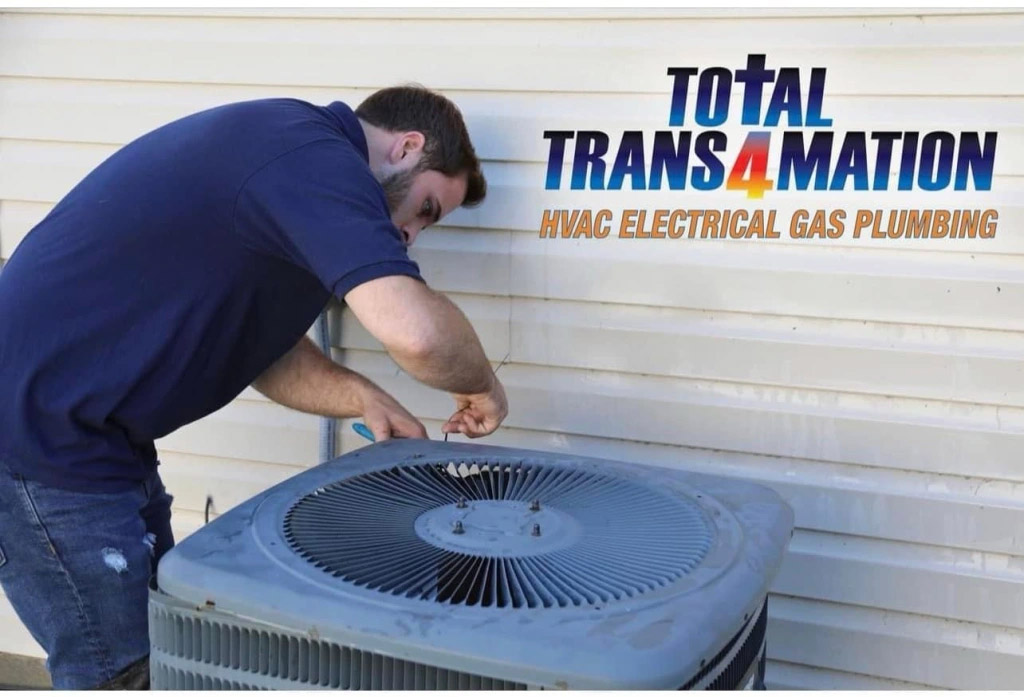
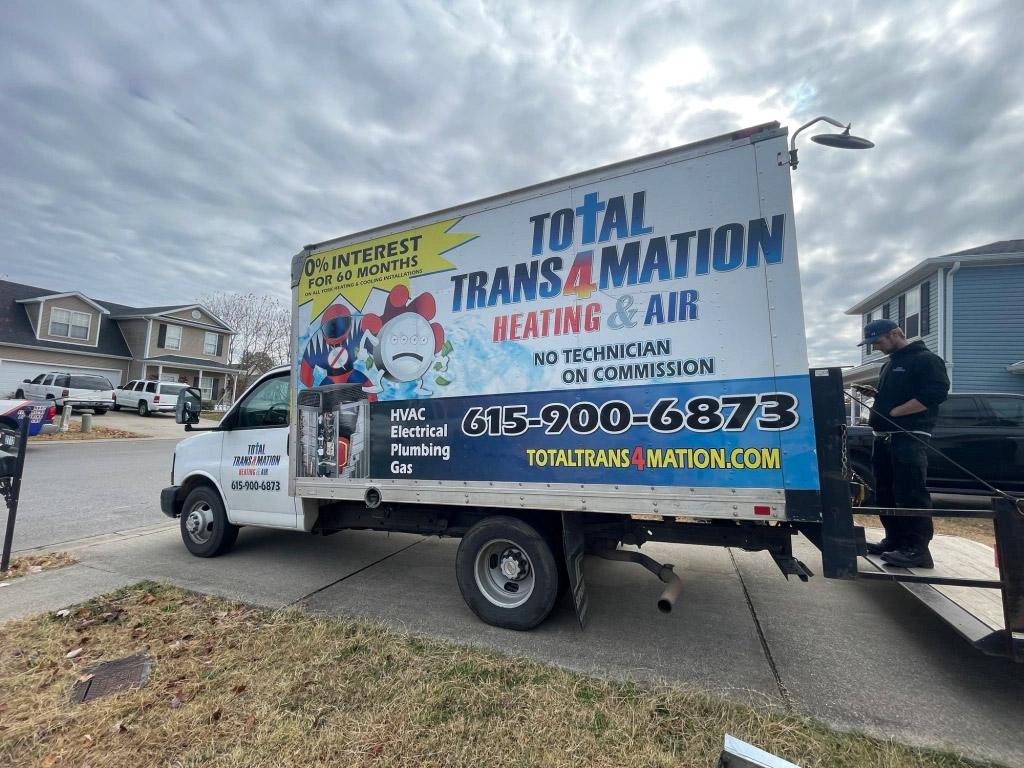
Total Trans4mation is a full service mechanical contractor that provides residential and commercial HVAC, electrical, plumbing, and gas piping services throughout the middle Tennessee areas. Our service area includes Murfreesboro, Franklin, Brentwood, Nashville, Columbia, Springhill, Nolensville, Woodbury, Christiana, Tullahoma, Shelbyville, Eagleville, Leepers fork, Lebanon, Hermitage, Mount Juliet, and surrounding areas.
If you have any questions, feel free to contact us at info@totaltransformation.com or you can contact us during normal business hours at phone number below.